QuickOPC User's Guide and Reference
Running the Setup
The installation can be started by running the setup program. Just follow the on-screen instructions. The installation program requires that you have administrative privileges to the system.
The installation package file is code-signed, increasing security, improving trust, and providing better download experience from the Web. The name of signer is “CODE Consulting and Development, s.r.o.”. Certain other items in the product (such as the executables of the License Manager and OPC Kit Server, and the Help files, are also code-signed, using the same certificate).
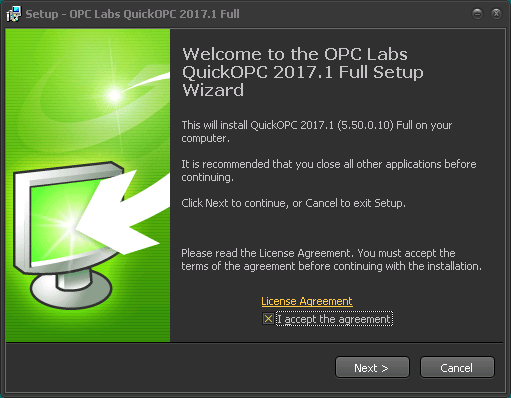
The installation wizard start with an introductory screen:
After an introductory screen, the setup wizard offers you the basic installation options:
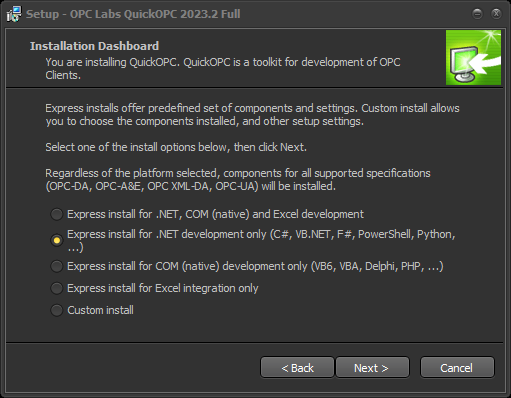
For start, simply choose one of the “express” install options. If you decide to select “custom install”, the installation program then offers you several installation types, and also allows you to choose specifically which part of the product to install. In addition, with the “custom install”, you can also influence additional settings such as the destination location, and whether to automatically launch the License Manager utility.
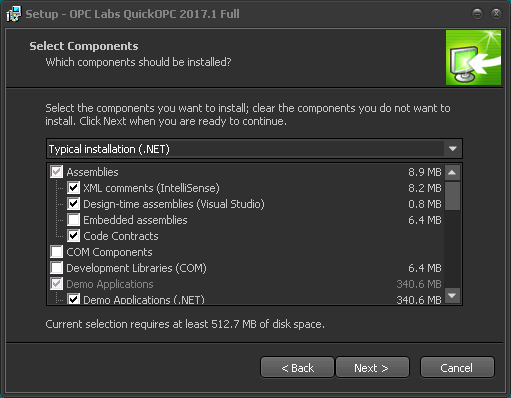
For “custom install”, the component selection wizard page looks similar to this:
After the installation, the Start menu contains a number of hierarchically organized icons for various parts of the product. There is also a "Product Folder" shortcut, which opens the directory where all product files reside, making it easier to locate them.
When the installation is finished, it opens the Launcher application. This application is a switchboard that presents the same shortcuts as those available from the Start menu. It serves as a starting point for work with QuickOPC.
The Setup program also places a Launcher application shortcut to the desktop, to the Programs group (Start menu), and to the Quick Launch bar (note that Quick Launch isn't visible by default; to enable it, see https://support.microsoft.com/en-us/kb/975784).
When the installation is finished, it also opens the Getting Started section of the documentation. You can also access the documentation and various tools from your Start menu, or the Launcher application that is installed together with the product.
When installing version QuickOPC, it is strongly recommended that you first uninstall any version numbered between 5.00 and 5.31, instead of simply applying the installation over the previous version. The reason for this that the earlier versions installed the runtime assemblies into the Global Assembly Cache (GAC), whereas versions 5.32 and later do not do this by default. Having older assemblies in the GAC while developing with newer assemblies outside of the GAC is possible in principle, but without extra precautions, it can lead to all kinds of mix-ups and confusion.
The full standalone installer has a German localization. When the Setup programs detects that current user's UI language is German, it automatically switches to this localization.
If the needs of your organization require you to automate the installation of QuickOPC, it is possible to do so, using switches on the command line (see http://www.jrsoftware.org/ishelp/index.php?topic=setupcmdline). For additional information, see a related article in the Knowledge Base, Full installer Types, Components and Tasks. Note that for production purposes, it is not expected that you will automate the full installer in this way; you should be using the production installer instead (see the Application Deployment section).